Easter
has become one of my favorite holidays,
such a fun relaxing day with family.
There are always lots of sweet treats, yummy food and fun decorations! I have
joined with 9 absolutely amazing bloggers on an Instagram Spring Party
Loop, where we are showing some fun bunny inspirations for Easter.
Keep reading for instructions on this darling Bunny Cake and make sure to visit
the other gals because they are seriously talented and have some fun stuff to
share!
When you think bunny, especially around Easter, most people may imagine a cute fluffy white one. Well in the beautiful PNW we have Eastern Cottontail bunnies hopping all over, the cutest little brown ones with fluffy white cottontails. They are everywhere in our fields and as long as they stay out of the garden, I love having them around.
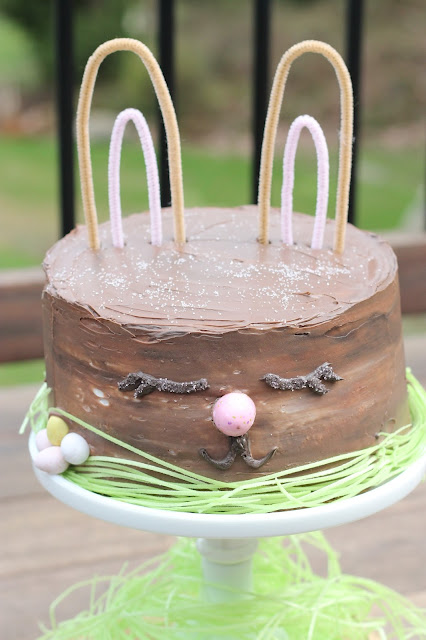
I have seen a lot of white bunny cakes on Pinterest and Instagram, but have yet to see too many brown ones. I thought I would give it a try! I am certainly a novice when it comes to decorating cakes, but I had some fun ideas and if I can do this then I know anyone else could follow along as well!
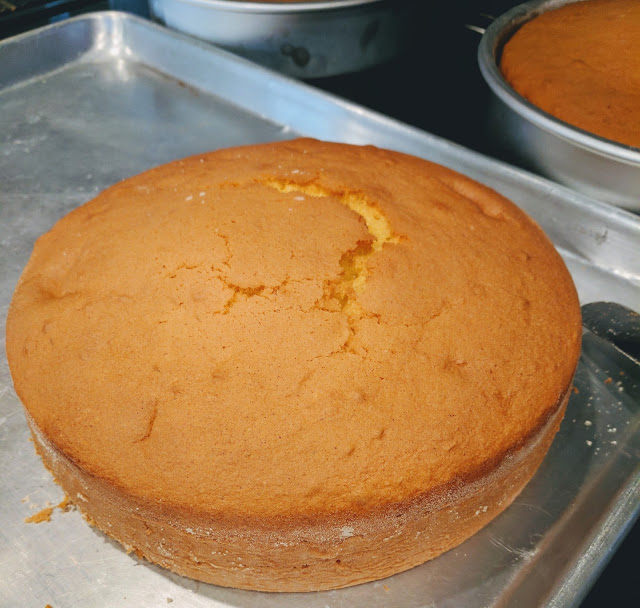
After the cakes were baked and have cooled, remove from pan and cut the tops off of each cake. This will make it easier to stack. I remember the first layered cake I ever made I forgot to do this and wondered why my cake looked so funny!
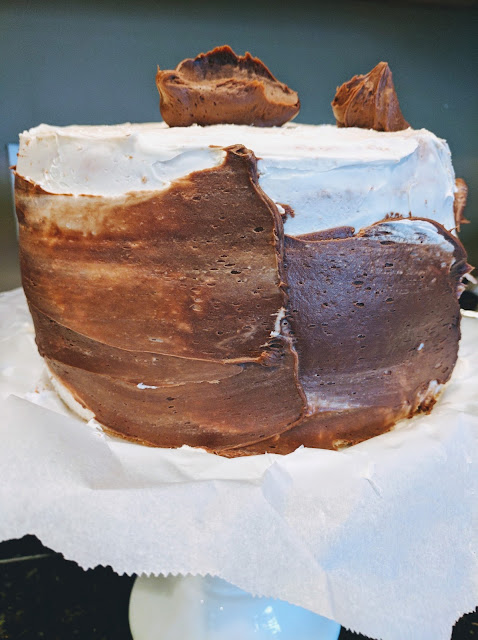
Next step is to layer the cakes on top of each other with a thin layer of frosting in between each layer. Once all three layers are stacked apply a rough “crumb coat” of white frosting all over cake. We had guests coming for dinner, and I was low on time so I opted to use canned frosting to make my life easier! I normally would opt for a homemade buttercream version, use whatever you prefer. I got two cans of vanilla and one chocolate and had a bit left over.

I set the cake in the fridge to cool for about 30 minutes, this made it easier to finish the frosting layers.
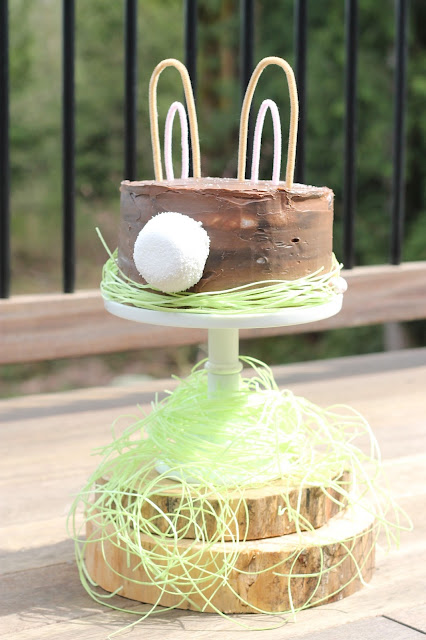
Then I started adding brown frosting around the cake (or chocolate if you bought cans like I did). Easter Cottontails have a mixed coloring of brown, grey and white, I kept blending around the cake until I got the look I was going for.
To add a little more depth to the color, I took some of the remaining white frosting and added a drop of black food coloring. This gave me the dark grey that I added to the top of the brown. This ultimately was a bit darker than I had wanted, but the end result still turned out really cute.
I blended and scraped around the cake until I had bites of white, brown and grey peeping through.
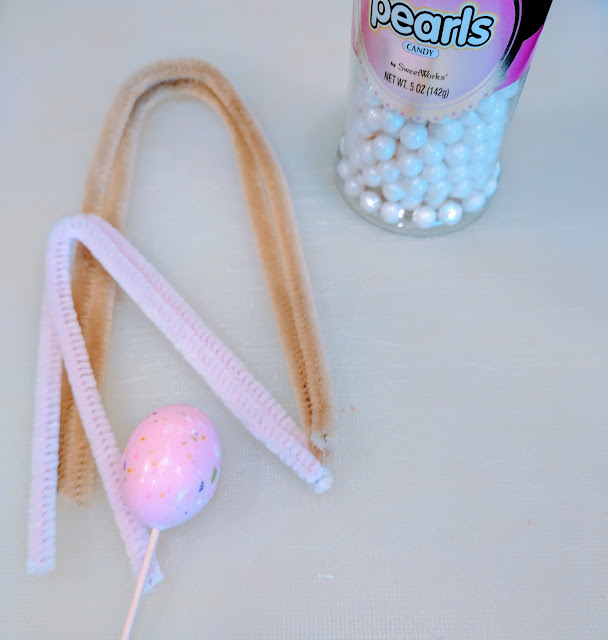
I took the remaining grey and added another drop of black coloring. I used this to line eye lashes and a little mouth. For the nose I took a pink candy we had in the Easter jar, cut it in half and attached to a toothpick. Then slide the toothpick into the cake, right above the mouth. Any pink candy would work great!
For the bunny ears I used light brown and pink pipe cleaner. You can find these at any craft store, they were easy to make into ears and are very inexpensive. I trimmed them to size and placed on top of the cake. The last piece to this darling cake was the cottontail of course! I used a Hostess Snoball, it made the perfect cottontail. I put 4 toothpicks in the Snoball and attached to the cake.
You will always find these cottontail bunnies in the fields munching on grass, so I added edible grass to finish it off.

If you have any fun bunny cake ideas, or if you have any advice for me on my next baking adventure, I would love to hear it!
Styling, Photography and Design: AK Party Studio









This is amazing my friend!!!
ReplyDeleteLove love how this turned out. What a cute cake.
ReplyDeleteCristy
www.happyfamilyblog.com
Love this cake! It is so darling!
ReplyDeletexoxo, Nicole (The Party Porch)